Next Next Next Cartographer GUI Installer: Difference between revisions
| Line 20: | Line 20: | ||
[[Image:Gui-install-5.png|400px|center]] | [[Image:Gui-install-5.png|400px|center]] | ||
The installer then writes various registry entries identifying the software, version, publisher, and publisher website then asks the user to click ''Next'' to continue. | |||
[[Image:Gui-install-6.png|400px|center]] | [[Image:Gui-install-6.png|400px|center]] | ||
Finally, the installer is finished and wants to let you know what a great job it did automating the install process and reducing IQ required, to be a systems administrator, to that of a monkey. | |||
== Uninstalling the Cartographer GUI Using the Windows Graphical Uninstaller == | |||
Revision as of 01:10, 1 April 2011

Installing the Cartographer GUI Using the Windows Graphical Installer
Double-clicking on the instal exe starts the installer. Prior to displaying the Welcome Screen, the installer first checks to see if Java is installed. If it is, the installer jumps right to the Welcome Screen. If not, a confirmation dialog is presented.
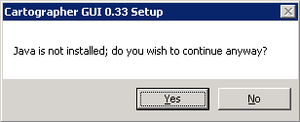
Click Yes to continue or No to exit the installer. Without Java, the Cartographer GUI will not run. Once this hurdle is complete, the Welcome Screen will be displayed.
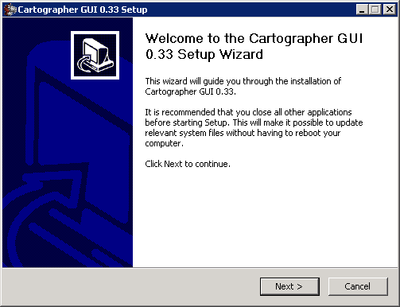
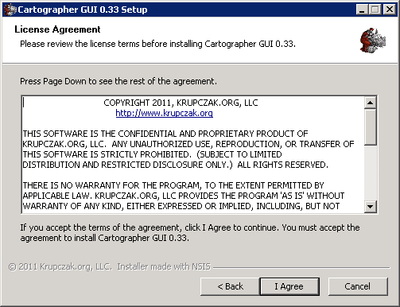
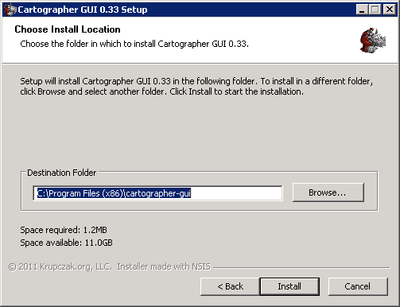
After selecting the location, the installer unpacks its files and places them in the install directory. If it too quickly scrolls through the list, then congratulations -- you have a fast computer!
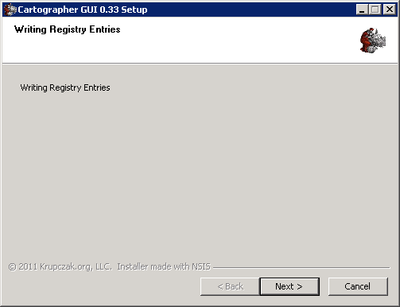
The installer then writes various registry entries identifying the software, version, publisher, and publisher website then asks the user to click Next to continue.
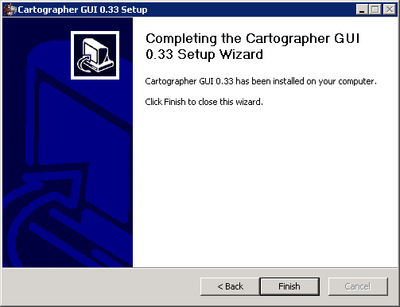
Finally, the installer is finished and wants to let you know what a great job it did automating the install process and reducing IQ required, to be a systems administrator, to that of a monkey.
